![]()
Startup Submission 03: Static React Mockups
Introduction
Workshop 06 led you through the exercise of translating the static HTML, Bootstrap, and CSS Facebook clone into a static React application. This required you to incrementally translate parts of a static HTML document into React components representing important parts of the Facebook UI. Now, UCombinator wants to see your startup apply the same approach to your team’s web application product. You must translate each of your static HTML documents representing the UI of your application into React components.
Installing and Running Your Application
UCombinator should easily be able to install libraries that your application depends on and run a web server to view your mock React UI. We should be able to install dependencies and run your application using these commands from your team’s cloned github repository:
npm install
npm run serve
Part 01: HTML Scaffolding
You should follow the same approach we used in Workshop 06 for converting the static HTML Facebook clone into using static React components. Unlike Workshop 06, your application will have multiple views. As such, your team will need to provide some scaffolding to allow you and us to view each of your UI views independently. The following describes additions and modifications one person on your team should make to your startup github repository before your team starts creating React components.
First, we will need to be able to view a list of links to each of your
mock UI views. We will do this by creating an HTML list in
the
build/index.html file
to easily allow us to view each of your mock UI files in the
browser. One person on your team should replace the contents of
your
build/index.html file
with the following content (or create the file if it doesn’t exist):
<!DOCTYPE html>
<html lang="en">
  <head>
    <meta charset="utf-8">
    <meta http-equiv="X-UA-Compatible" content="IE=edge">
    <meta name="viewport" content="width=device-width, initial-scale=1">
    <!-- The above 3 meta tags *must* come first in the head; any other head content must come *after* these tags -->
    <title>Bootstrap Template</title>

    <!-- Bootstrap -->
    <link href="css/bootstrap.min.css" rel="stylesheet">

    <!-- Custom CSS goes here -->
  </head>
  <body>
    <!-- Custom HTML goes here -->
    <h2>Application Views</h2>
    <ul>
      <!-- REPLACE LINKS BELOW -->
      <!-- Provide a link for each of your mock UI HTML files -->
      <li><a href="ui-01.html">UI #1</a></li>
      <li><a href="ui-02.html">UI #2</a></li>
      <!-- REPLACE LINKS ABOVE -->
    </ul>

    <!-- jQuery (necessary for Bootstrap's JavaScript plugins) -->
    <script src="js/jquery.min.js"></script>
    <!-- Include all compiled plugins (below), or include individual
         files as needed -->
    <script src="js/bootstrap.min.js"></script>
    <!-- App code -->
    <script src="js/app.js"></script>
  </body>
</html>
Next, you will need to create links to each of your HTML files implementing your mock UI. You should replace each of the links between REPLACE LINKS BELOW and REPLACE LINKS ABOVE. As you can see, in this example we have links to two HTML files to demonstrate what this should look like. Here is a listing of the build directory showing you the ui-01.html and ui-02.html files:
.
├── README.md
├── css
├── fonts
├── img
├── index.html
├── js
├── ui-01.html
└── ui-02.html
After you add the links to build/index.html you can run the provided web server with this command to view the results in the browser:
npm run serve
When viewed in the browser, our build/index.html file without modification looks like this:
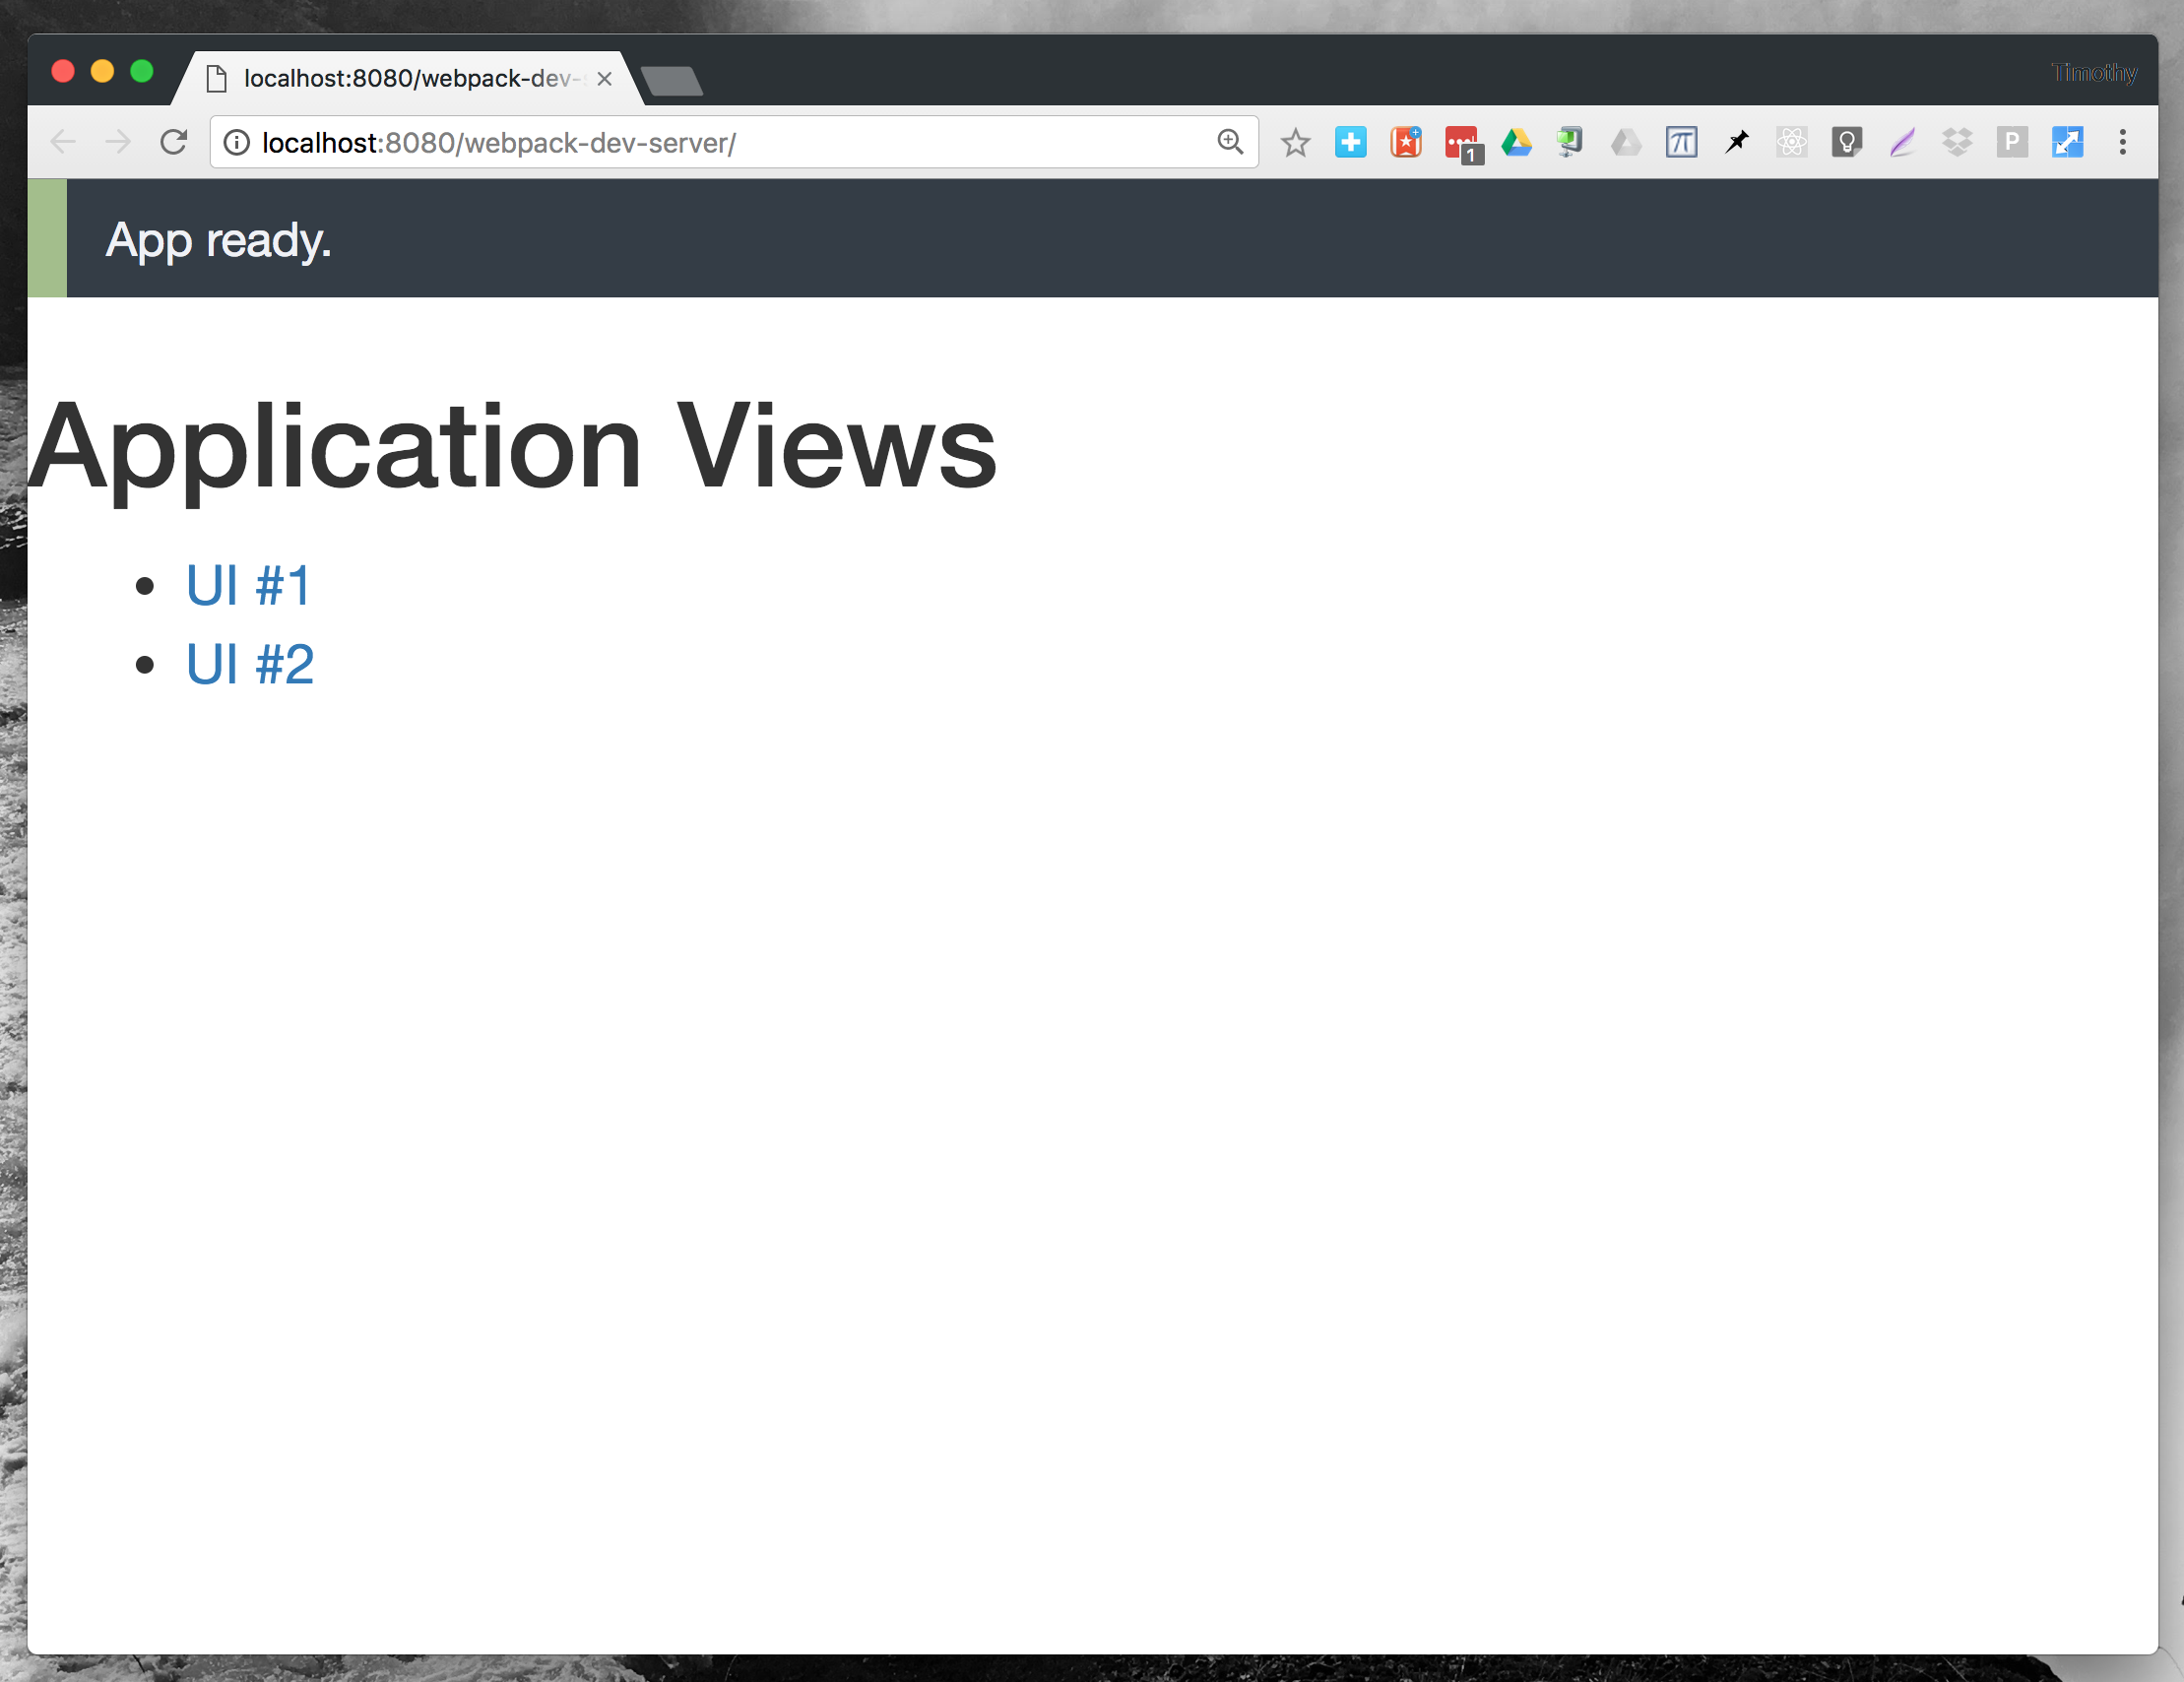
Yours should look similar with links to each of your mock UI files. You should click on the links to verify that they load each of your mock UIs properly.
If everything looks good you should run git add, git commit, and git push to record your changes.
Part 02: React Scaffolding
Just like we provided scaffolding for each of your HTML files, we must provide scaffolding to support the top-level React components for each of your mock UIs. One person on your team should open the app/app.js file and replace its contents with the following JavaScript code:
import React from 'react';
import ReactDOM from 'react-dom';

// Each major browser view user interface must be imported.
import UI01 from './components/ui-01.js';
import UI02 from './components/ui-02.js';

// For each view conditionally determine which view to display
// depending on if the ID is present in the HTML.
if (document.getElementById('ui-01') !== null) {
  ReactDOM.render(
    <UI01 />,
    document.getElementById('ui-01')
  );
} else if (document.getElementById('ui-02') !== null) {
  ReactDOM.render(
    <UI02 />,
    document.getElementById('ui-02')
  );
}
The above code imports the necessary React libraries as well as components we have defined in the components directory. Naturally, these components will be different for your application and you should replace them with your own top-level components. To get started your team may want to simply copy the components we defined in our Startup 03 Tutorial repository.
After the imports we have a conditional statement. By the time this code is executed in the browser we have already loaded in the associated HTML document and constructed the DOM. This allows us to use the document.getElementById() function to retrieve the HTML element associated with the given ID (we will see where this ID comes from in the next section). If the particular ID is present in the HTML document we render the associated React component using ReactDOM.render.
Your team should replace each of the imports with your own components for your application, replace the ID names in document.getElementById() calls with your own IDs, and replace the bodies of the conditional with the creation of your own components. To get started, you may simply want to copy the component directory of our startup 03 tutorial into your startup repository. After everything is properly setup you can then slowly begin to replace the template components.
If everything looks good you should run git add, git commit, and git push to record your changes.
Part 03: Adding the IDs
Lastly, your team will need to add a <div> tag in each of your mock UI html files that correspond with the IDs mentioned in the JavaScript code in the previous section. Thus, in our example above, we would add a <div id="ui-01"></div> tag as the first line in the <body> tag in the build/ui-01.html file. You will do this for each of your mockup UI HTML files. Note: it doesn’t matter where you put the <div> as long as it is outside of the HTML that you will be pulling out into a React component. You can see how we did it in our ui-01.html and ui-02.html files.
If everything looks good you should run git add, git commit, and git push to record your changes.
Part 04: Implement React Components
Once your teams has completed Parts 01 - 03 you will be ready to start implementing React components for your team’s web application product. You should follow the same procedure as you did in Workshop 06. How you organize your application into components is something your team will need to determine. There is no hard and fast rule for how components are organized and which part of your application should be a separate component. We do recommend, however, that before you start cutting HTML out of the original static UIs your team should have a plan on which HTML parts should be replaced with a React component.
If everything looks good you should run git add, git commit, and git push to record your changes.
Report
Add a report to your repository as reports/submission_03.pdf that:
- Carefully articulates any outstanding bugs in your submission and a plan on how you intend to fix your issues.
- You must provide this information in your document otherwise we will assume a fully functional submission and score you accordingly. You will not necessarily be penalized for a few broken pieces, however, we do expect these problems to be addressed by the next startup submission.
- Describes your product’s key React components, and what parts of the UI they are responsible for.
- Example:
Feedrenders the user’s content feed on the main page - Example:
FeedItemrenders a single post within a user’sFeed - Example:
OnlineListrenders the user’s list of online friends within the product’s chat feature
- Example:
- Describes what each startup founder contributed to this submission
- Describes any product features you have decided to cut (if any)
Submission
Make sure you have everything added, committed, and pushed to your team’s github repository. After you confirm that the repository is up-to-date, you must submit the URL to your github repository to Moodle by the assigned due date.